Operation: Laser Raster (for Bitmaps)
The Laser Raster is one of the two workhorse CAM operations alongside Laser Cut. There are many options available to customize the way your image is engraved.
Laser Raster Engraving Options
- Laser Power
- Laser Diameter
- Passes
- Pass Depth
- Cut Rate
- Smoothing
- Brightness - Contrast - Gamma - Grayscale - Shades
- Trim Pixels
- Join Pixels
- Burn White
- Verbose GCode
- Diagonal
- Simulator
Laser Power Range

The laser power limits the power from 0 to 100% of the beam range set in the machine settings.
Ex.: if your beam range is set to min: 0, max: 1 and the laser power is set to 20% -80%, the S value in the generated GCode can never go out of the range of 0.2 -0.8. That means the color pallet is mapped to this range white = 0.2 -black = 0.8.
Calibration image:

* Note: Arduino/GRBL will range from S0 (0%) to S1000 (100%) with S500 being the 50% mark while Smoothie will range from S0 (0%) - S1 (100%) with S0.5 being the 50% mark.
Laser Diameter

The laser beam diameter in millimeters. 0.2 is a common setting for many of the 40w CO2 machines at the proper focal point. Every machine is different and varying the beam diameter will vary the spacing between each successive burn line.
Setting the beam diameter to match your machine will produce scan lines that are immediately adjacent to the previous line creating a smooth engraving. If you set the beam diameter larger than your machine produces will create gaps of non-engraved material between the scan lines. This can be done intentionally to produce different effects. If you set the beam diameter smaller than your machine produces will partially burn over already burned locations and produce inconsistent results. Better use multiple pathes for darker engraving.
The smaller your beam diameter, the larger your g-code file will become as it will require more lines to complete the image. If your picture to engrave is large, LaserWeb might get into memory limitation and therefore could not create the gcode. In this case, try a bigger laser diameter.
Passes

Passes is the number of times the laser will repeat the engraving. Adding additional passes at a lower power can help reduce charring of material.
Pass Depth
Pass Depth is the amount of Z travel in mm that the laser head will move towards the material on each pass
Cut Rate
Cut rate is the feed rate in mm per minute.
For users of LW3, pay attention to the change from mm/sec to mm/min.
You can change the units to mm/sec under settings>Application>feed units
Smoothing

Applies a smoothing filter to the imported image
Brightness, Contrast, Gamma, Grayscale and Shades

This group of settings is for tweaking the actual image. Increasing or decreasing values such as the brightness and contrast can often yield better results in the burn. This is not a replacement for preprocessing in a graphics editor but does allow for minor tweaks on the fly
- Brightness and Contrast can be adjusted from -255 to 255
- Gamma adjustments are from 0.01 to 2
- Grayscale provides different grayscale algorithms to try
- Shades will reduce the color pallet to x shades of gray. This can save some g-code on dirty images
Trim Pixels
![]()
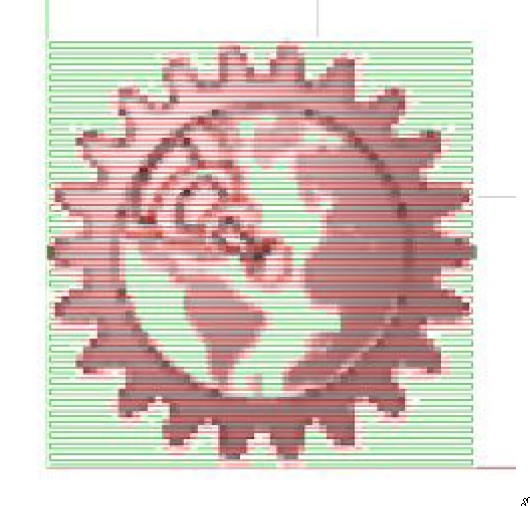
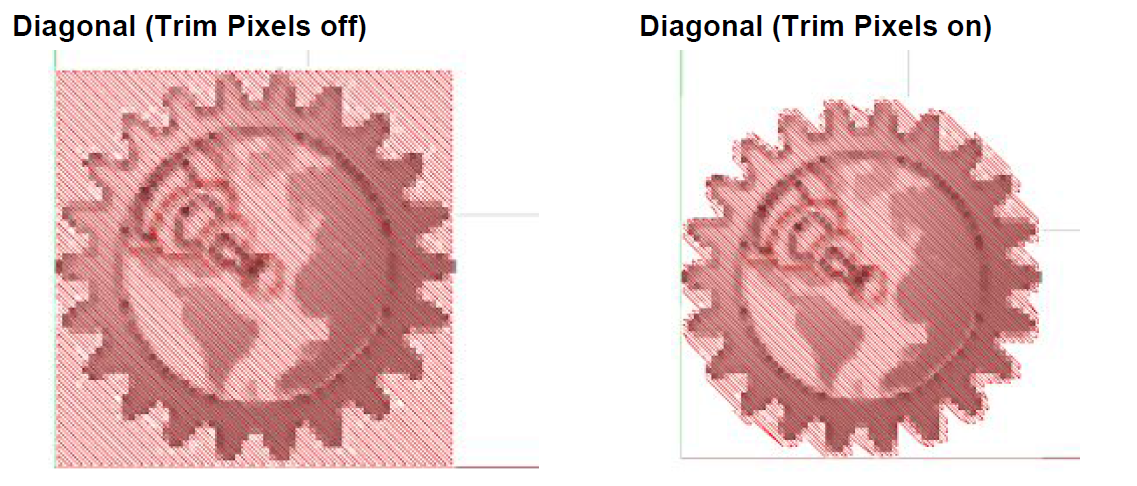
Trim Pixels will remove all trailing white pixels from the both ends of each line. This can significantly reduce the time to engrave and the g-code file size.
Basically it will stop the machine moving into white space beyond the end of the image.
![]()
Join Pixels
![]()
Draw a single line if several consecutive pixels of the same intensity are detected. This can significantly reduce the number of instructions and the GCode file size.
Burn White

Avoids turning off the laser power but prevents burning by forcing the S value to zero.
Turning on Burn White allows the white space to be coded as G1 commands with S0 for the power setting instead of the default G0. Running your white space as G1 potentially can benefit the controller firmware planner buffer and give better performance by not having to constantly switch between G0 and G1 through the job.

Verbose GCode

In verbose mode, all GCode instructions will be included,otherwise only necessary instructions will be included. Reduces the size of the resulting GCode file.
Diagonal

Turning diagonal on allows the image to burn at a 45-degree bias instead of the traditional horizontal scan. Note, this increases the distance between each point.

Simulator
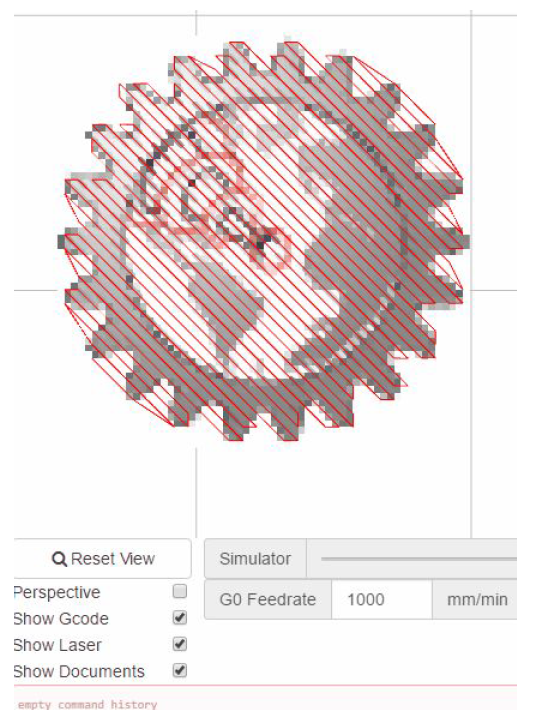
Using the simulator is a powerful way to verify that you will get the results you are expecting without ever firing up the laser. To view a representation of your burn, uncheck Show Documents and Show Gcode and you will get a clear view of the laser burning by sliding the simulator slider left and right.


